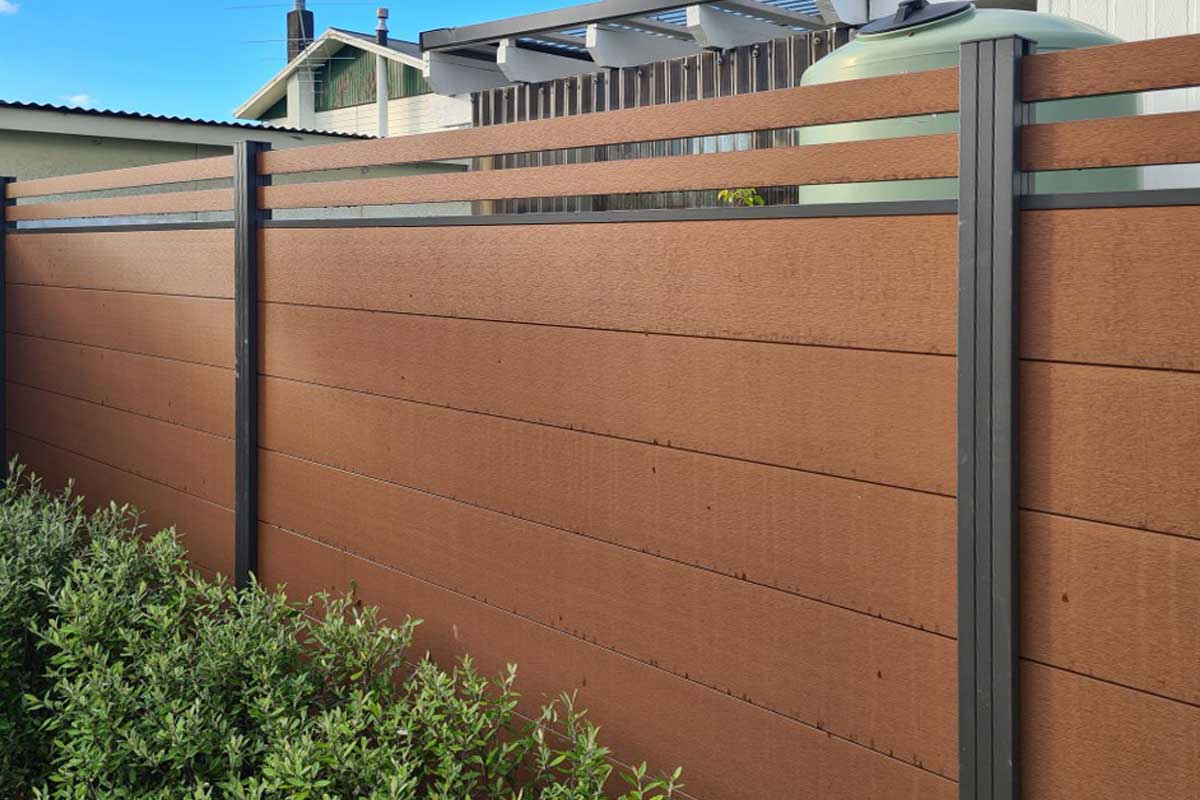
Composite fencing is becoming an increasingly popular option for homeowners looking to enhance their outdoor living spaces. Offering the durability of traditional materials like wood or vinyl, composite fencing is also eco-friendly and easy to maintain.
If youre considering installing composite fencing on your property, its important to know the proper steps and techniques to ensure a successful and long-lasting result. This comprehensive guide will walk you through the process of installing composite fencing, covering everything from preparation and measurements to installation and finishing touches.
By following these steps, you can create a beautiful and functional fence that will complement your home and landscape for years to come.
1. Overview of Composite Fencing

Composite fencing is a popular alternative to traditional wood or metal fencing due to its durability and low maintenance requirements. Made from a combination of recycled wood fibers and plastic, composite fencing offers the natural look of wood without the risk of rotting or warping.
Additionally, composite fencing is resistant to insects and harsh weather conditions, making it a long-lasting option for residential and commercial properties. With a variety of styles and colors available, composite fencing can be customized to suit any aesthetic preferences.
Overall, composite fencing provides a reliable and attractive solution for property owners looking to enhance their outdoor spaces with a sustainable and low-maintenance option.
2. Tools and Materials Needed

Before starting the installation process of composite fencing, it is important to gather all the necessary tools and materials. The tools needed for this project include a tape measure, level, drill and drill bits, saw, screwdriver, gloves, safety goggles, and a pencil.
Additionally, you will need materials such as composite fence panels, posts, post caps, gravel, concrete mix, screws, brackets, and gate hardware. It is essential to ensure that you have all the required tools and materials on hand before beginning the installation to avoid unnecessary delays or hiccups during the process.
3. Preparing the Site for Installation

Before installing composite fencing, it is essential to properly prepare the site for the installation process. Start by clearing the area of any debris, vegetation, or obstructions that may hinder the installation.
This includes removing rocks, tree roots, and any other objects that could be in the way. Next, ensure that the ground is level and compacted to provide a stable base for the fencing.
It is also important to mark the layout of the fence line using string or chalk to ensure that the fence is installed in the correct location. Additionally, make sure to measure and plan for any gates or openings that will need to be included in the fencing.
Taking the time to properly prepare the site will help ensure a successful and long-lasting installation of composite fencing.
Conclusion
In conclusion, installing composite fencing requires careful planning, precise measurements, and thorough understanding of the manufacturers instructions. By following the steps outlined in this comprehensive guide, homeowners can enjoy the benefits of low-maintenance, durable, and aesthetically pleasing fencing for years to come.
Composite fencing is a worthwhile investment for those looking to enhance the beauty and functionality of their outdoor spaces while reducing the need for regular upkeep. With the right tools and techniques, even novice DIYers can successfully install composite fencing and create a stylish and long-lasting barrier around their property.


